Disclaimer: The results provided by this calculator are for informational and educational purposes only and should not be considered professional advice.
Accuracy is not guaranteed, and you should consult a qualified professional for decisions related to finance, health, legal matters, or medical treatment.
By using this tool, you acknowledge that CalcZen.com is not responsible for any actions taken based on its results.
How a Rock Calculator Saves Your DIY Budget and Your Back
C
CalcZen.com
Updated: Jul 13, 2026
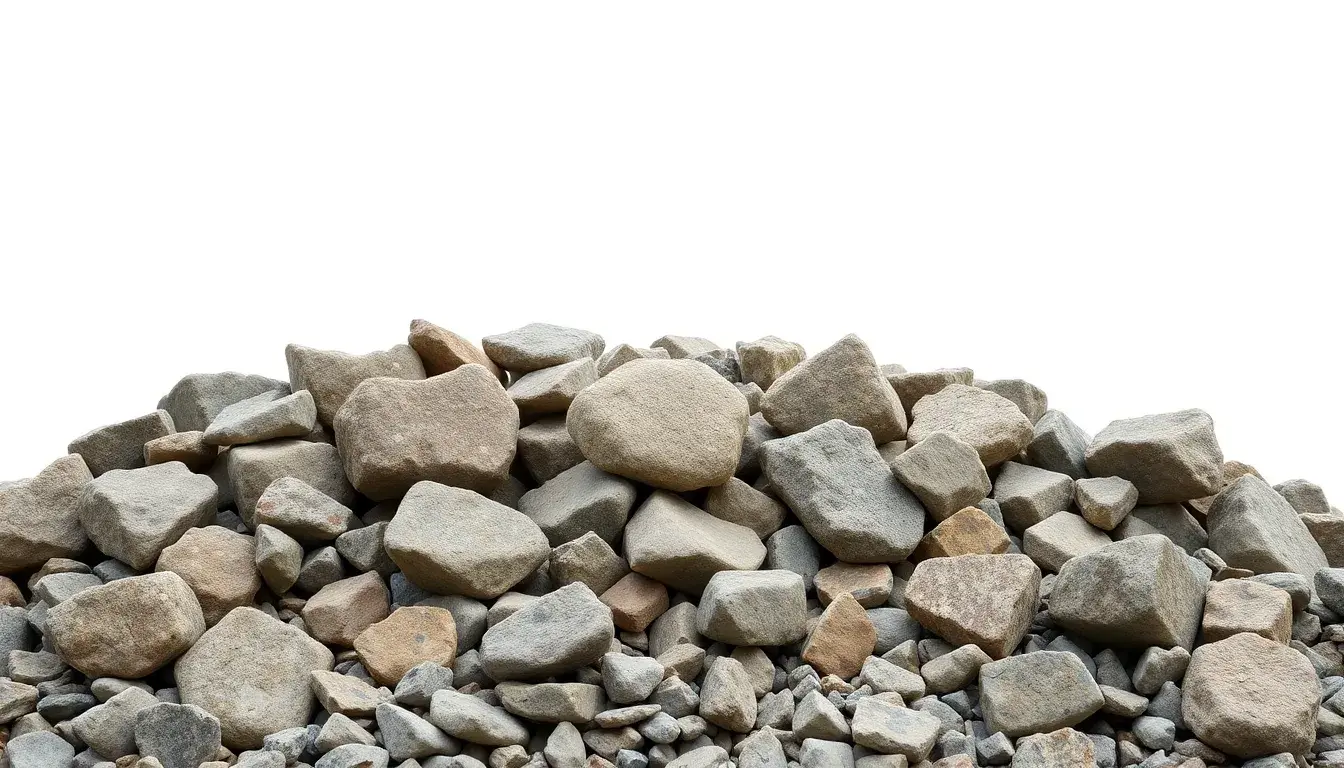
We’ve all been there. You’re standing in your driveway, staring at a massive pile of gravel that’s either three times too big or—worse—painfully small for the project you’re working on. Estimating stones and aggregate by eye is a recipe for a headache. That’s why a reliable rock calculator is essentially your best friend in the world of Construction & DIY Estimators. In this guide, I’m going to show you how to stop guessing and start calculating with precision at Calczen.com.
The Mystery of "How Much?"
Whether you are building a new gravel path, filling a drainage ditch, or laying down a base for a patio, the math always seems to get messy. Most people forget that rocks aren't sold by the "bucketful"—they are sold by weight or volume. If you don't know your numbers, you're either going to overspend on delivery fees or find yourself frantically calling the quarry for an emergency second load.
I remember my first project: a simple garden border. I figured "two truckloads" sounded right. It wasn't. I ended up with enough leftover limestone to pave my neighbor's driveway too. If I had used a rock calculator, I would have known that my area and depth only required about 1.5 tons. That half-ton mistake cost me time, money, and a lot of unnecessary shoveling.
Pro Tip: Always calculate for "compacted" depth. If you need 4 inches of finished gravel, you might actually need to buy 5 inches worth of material because stones settle and pack down as you walk on them!
Breaking Down the Math (The Easy Way)
You don't need to be a calculus professor to figure this out. Most rock calculator tools follow a simple three-step logic. You provide the dimensions, and the tool handles the heavy lifting of density conversions. Check out the Construction & DIY Estimators category on our site to see these tools in action.
1. Measuring Area
First, you need the length and width of the space. If it’s a rectangle, it's easy. If it's a circle or a winding path, things get a bit more complex. A good online tool will let you plug in various shapes so you don't have to remember high school geometry. Accuracy here is the foundation of a good estimate.
2. Selecting Depth
How deep do you really need to go? For walking paths, 2–3 inches of decorative stone is usually enough. For a driveway that needs to support a car, you're looking at 4–6 inches. The deeper you go, the more the "tonnage" climbs. This is where most DIYers get tripped up—a tiny change in depth can add hundreds of pounds to the total weight.
3. Factor in the Density
Not all rocks are created equal. A cubic yard of pea gravel weighs significantly less than a cubic yard of heavy river rock. Most tools use a standard average (usually around 2,400 to 2,700 pounds per cubic yard), but it's always worth checking with your local supplier for the specific material density.
Why Precision Matters in Construction
In professional construction, guessing isn't just a minor inconvenience—it's a liability. Overloading a trailer because you miscalculated the weight of your gravel can lead to broken axles or fines. On the flip side, under-ordering means your crew is sitting around on the clock waiting for more material to arrive. It’s why pros always keep a shortcut to a reliable rock calculator reference handy.
Save Money: Delivery fees for heavy materials are expensive. Minimize the number of trips.
Reduce Waste: Excess rock often ends up in a pile in the backyard, killing grass and becoming an eyesore.
Save Your Back: Every ton of rock you order has to be moved. Why move more than you need?
Stop Guessing, Start Calculating!
Ready to tackle that landscaping project with total confidence? Head over to Calczen.com right now. Our Rock/S gravel Calculator is fast, free, and designed to give you instant results without the annoying pop-up ads.
Even with the best tools, human error can sneak in. Here are the most frequent blunders I’ve seen (and made myself):
Mixing Units: Don't measure your length in feet and your depth in inches without a tool that auto-converts. A rock calculator handles this effortlessly, but doing it on paper often leads to "decimal point disasters."
Ignoring the Base Layer: If you're building a patio, remember you need a base of crushed stone and a top layer of sand or decorative rock. Calculate them separately!
Forgetting "The Fluff": When rock is poured out of a truck, it's "loose." As you spread and tamp it, the volume decreases. Always add about 5-10% to your total to account for settling and spills.
At the end of the day, my goal is to make your life easier. I’ve tested dozens of these apps, and the reason I love the ones we’ve built at Calczen is the lack of clutter. When you’re in the middle of a project and your hands are covered in dirt, you don't want to navigate five pages of ads just to find out how many tons of gravel you need.
Final Thoughts
Calculating your materials shouldn't be the hardest part of your DIY project. With a solid rock calculator, you can spend less time worrying about the budget and more time enjoying your new walkway or garden. It’s all about working smarter, not harder. Bookmark Calczen.com for your next project—we’ve got your back (and your driveway).